
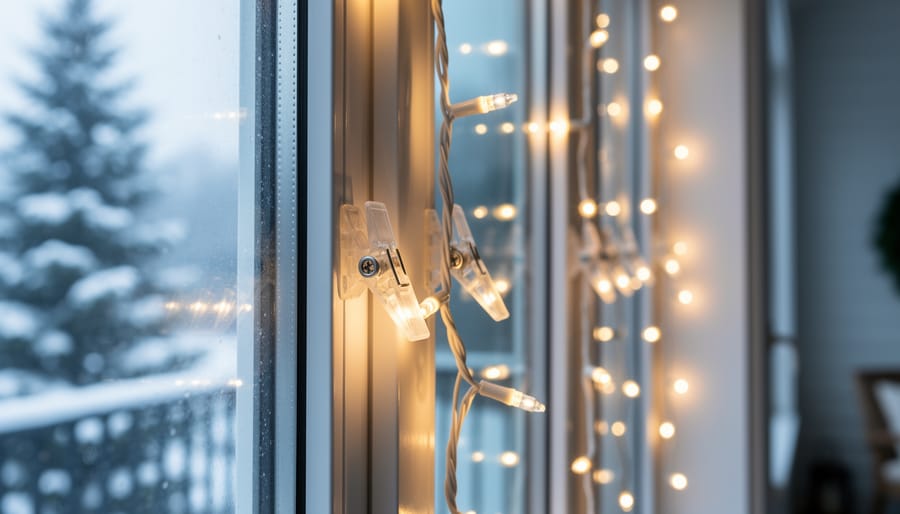
Transforming your windows into glowing focal points of holiday cheer requires the right clips and proper installation technique. Window-mounted Christmas light clips secure strands to vinyl, wood, or aluminum frames without drilling holes or leaving adhesive residue, allowing you to outline each pane with precision in under two hours. The secret lies in matching clip design to your specific window material and frame depth, then installing them with consistent spacing before the first frost makes outdoor work uncomfortable.
Window light clips differ significantly from their gutter and roofline counterparts. Most homeowners struggle with clips that either grip too loosely, allowing lights to sag and twist in winter wind, or grip so tightly they crack vinyl frames when temperatures drop. The solution centers on selecting clips engineered specifically for window applications, those designed with wider contact surfaces that distribute pressure evenly across the frame.
Professional installers know that proper clip placement creates visual harmony. Spacing clips every 12 to 18 inches maintains straight, taut light lines that mirror your window’s architectural lines. This measured approach prevents the drooping, uneven appearance that signals amateur installation.
The process requires minimal investment in tools and materials, but demands attention to window surface preparation and clip orientation. Clean frames ensure secure adhesion for clip-on styles, while proper alignment prevents stress points that could damage both your windows and light strands throughout the season. Understanding these fundamentals transforms a frustrating afternoon into a satisfying display that enhances your home’s curb appeal from Thanksgiving through New Year’s.
What You’ll Need: Tools and Materials for Window Light Clips
Gathering the right supplies before you start makes window light clip installation faster, safer, and far less frustrating. Having everything within reach means you won’t be climbing up and down a ladder repeatedly or discovering mid-project that you’re missing a critical item.
Essential Supplies for Window Light Clip Installation
- Window-specific light clips: All-in-one clips, shingle tabs with adhesive backing, or magnetic clips depending on your window frame material
- Measuring tape: For calculating window dimensions and planning clip spacing
- Window cleaner and microfiber cloths: Clean surfaces ensure clips adhere properly and last through the season
- Rubbing alcohol or adhesive prep wipes: Removes residual oils and film that prevent secure adhesion
- Painter’s tape or masking tape: Marks clip placement positions before permanent installation
- Ladder or step stool: Safe access to upper window sections and second-story frames
- Extension cords rated for outdoor use: Connects your display to power sources safely
- LED Christmas lights: Energy-efficient bulbs that stay cool and won’t damage clips or frames
- Cable clips or wire management ties: Keeps excess cord neat and prevents tangling
Choosing the right clip type matters enormously. All-in-one clips that grip both the light strand and the window frame work beautifully on vinyl and aluminum frames. Adhesive-backed clips offer versatility for smooth surfaces but require proper prep. Magnetic clips eliminate adhesive concerns entirely if you have metal window frames, though they’re less common for residential windows.
Quality matters here. Cheap clips crack in cold weather, lose their grip, or damage paint and caulking during removal. Investing in clips designed specifically for windows rather than generic gutter clips saves you headaches and prevents the kind of damage that turns a festive project into a costly repair job.
Safety Considerations and Window Protection
Before you climb that ladder, understand the risks: installing lights on second-story windows accounts for thousands of emergency room visits each year. Start by following essential ladder safety tips always secure ladders on stable surfaces maintain three points of contact, and never overreach. Have someone spot you, especially when working near windows where slick frames and awkward angles test your balance.
Protect your windows by testing clips on an inconspicuous area first. Adhesive clips can strip paint or damage vinyl coatings if left too long, while pressure clips may crack aging wood frames. Clean frames thoroughly before installation, dirt trapped under clips scratches glass and finishes. Check weather forecasts before starting; wet surfaces compromise adhesive strength, and working in wind near open ladders is dangerous.
For Christmas light safety inspect cords for fraying before threading them through clips near window glass. Use outdoor-rated lights and ground-fault circuit interrupters to avoid electrical hazards especially where moisture collects on window sills. Never drill into window frames without knowing what’s behind them, you could puncture electrical wiring or compromise weatherproofing seals that cost hundreds to repair.
Preparing Your Windows for Light Clip Installation
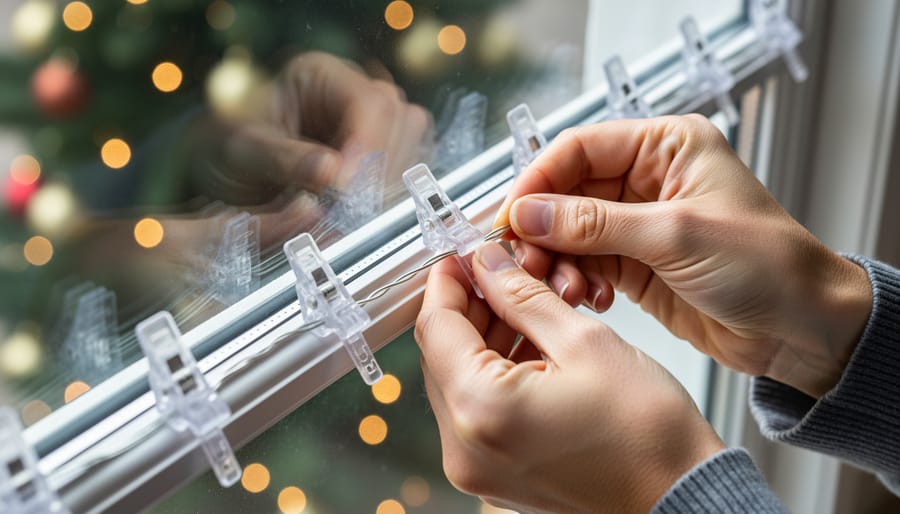
Before you attach a single clip, proper window preparation sets the foundation for a damage-free, professional-looking display. Starting with clean surfaces ensures clips adhere correctly and lights shine their brightest.
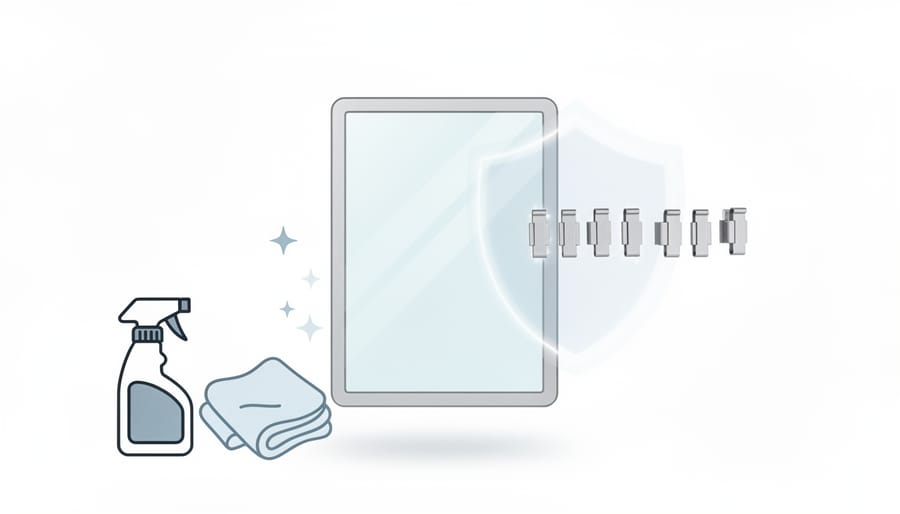
Begin by thoroughly cleaning your window frames with a mild detergent solution and soft cloth. Remove dirt, dust, and any oily residue that could prevent clips from gripping properly. Pay special attention to the areas where clips will make contact, even a thin layer of grime can compromise adhesion. For vinyl windows, avoid harsh chemicals that might damage the finish. Let frames dry completely before proceeding, as moisture trapped under clips can lead to mold or poor adhesion.
Next, measure your window dimensions carefully. Use a tape measure to determine the exact length of each frame section where lights will run. Calculate how many bulbs or light strands you’ll need, accounting for corners and any gaps you want to maintain. This step prevents the frustration of discovering mid-installation that you’re short on lights or clips.
Walk around your home’s exterior during daylight to identify architectural features that might affect installation. Note any decorative trim, shutters, or uneven surfaces that require special clip placement. Look for areas where standard clips won’t work and plan alternative attachment methods in advance.
Finally, test your lights before installation. Plug in each strand to verify all bulbs illuminate correctly. Check clips by attaching a few to a scrap piece of trim or windowsill to ensure they hold securely under the weight of your lights. This simple verification saves you from discovering defective components while balanced on a ladder.
Step-by-Step Installation Process
Starting with the First Clip
The first clip sets the foundation for your entire window display. Begin at the top corner of your window frame, positioning the clip approximately one inch from the edge to maintain visual balance and allow room for the corner turn. Press firmly to test adhesion before threading any lights through.
Mark this starting point with light pencil or painter’s tape as your reference. Check that the clip sits flush against the frame surface, any gaps mean improper fit or a surface that needs additional cleaning. This initial placement determines whether your lights will hang level or create an uneven, sagging line across the window frame.
Maintaining Consistent Spacing
Achieving uniform spacing between clips creates the polished, professional look that makes window displays stand out. Most installers find success placing clips every 6 to 12 inches along the window frame, depending on the light strand’s weight and the clip’s holding power. Heavier commercial-grade bulbs need tighter spacing, while lightweight mini lights can handle wider intervals.
Use a measuring tape or a pre-cut spacer stick to maintain consistency as you work around the frame. Mark clip positions lightly with removable painter’s tape before installation if you want extra precision. This prevents the common mistake of starting with tight spacing that gradually widens as you rush to finish.
Pay attention to light strand tension as you clip. The strand should rest naturally in each clip without sagging between attachment points or pulling so tight it strains the clips. If you notice drooping sections, add an extra clip midway between existing ones rather than trying to stretch the lights tighter. Consistent tension prevents that uneven, wavy appearance that undermines an otherwise careful installation.
Securing Lights in the Clips
With your clips properly positioned and spaced, threading the lights requires a deliberate technique to prevent frustration later. Start at one end and work methodically toward the other, never forcing bulbs through clip openings. Gently press each bulb’s base, not the glass, into the clip channel until you hear or feel it settle securely. The wire should rest naturally in the clip’s groove without twisting or bunching.
Maintain consistent tension as you work. Too loose, and lights sag between clips, creating an uneven appearance. Too tight, and you risk pulling clips from the frame or stressing the wire connections. Aim for a slight curve between each clip, which accommodates thermal expansion when lights heat up and prevents strain during temperature changes.
If a bulb refuses to seat properly, check that the clip hasn’t rotated or shifted out of alignment. Adjust the clip position rather than forcing the bulb, which can crack the glass or damage the socket. For C9 bulbs or other larger styles, ensure the clip design matches the bulb diameter, standard mini-light clips won’t accommodate larger bases securely.
Handling Corners and Architectural Details
Corners present the trickiest part of any window light installation because standard clips can’t bend at right angles. Instead of forcing a single clip around a corner, which creates tension and often pulls loose, place one clip on each side of the corner about an inch from the edge. This gives you clean lines without strain on either the clips or the window frame.
For windows with decorative trim or mullions, use smaller profile clips that won’t interfere with architectural details. Test your clip placement before committing; some ornate trim profiles work better with adhesive-backed clips than pressure-fit styles. If your windows have raised panels or recessed sections, adjust your clip spacing to follow the frame’s actual edge rather than trying to bridge gaps.
Arched or curved window tops require flexible clips designed for non-linear surfaces. Standard rigid clips will leave gaps and create an uneven light line on anything but straight edges.
Testing and Final Adjustments
After securing all your clips and lights, step back from the window to check the overall appearance. Look for sagging sections where clips may have come loose or lights droop between attachment points. Walk both inside and outside your home to view the display from different angles, as what looks perfect from the ground might reveal gaps or uneven sections from other perspectives.
Plug in your lights to verify every bulb illuminates properly. Check each window section systematically, making note of any dark spots, flickering strands, or inconsistent brightness. Test any timers or extension cords to confirm they’re functioning correctly and positioned away from moisture.
Gently tug on the light strands at several points to ensure clips hold firmly without pulling away from the frame. Clips should resist moderate pressure without shifting or releasing. If any section feels loose, remove and reposition those clips for a more secure hold.
Address common issues immediately. Sagging between clips means you need additional clips to reduce the span length. Uneven spacing creates a cluttered look, remove and redistribute clips for consistent intervals. For clips that won’t stay attached, clean the surface again and try a different clip style better suited to your window material. Review our safe hanging checklist to ensure you haven’t missed any critical steps.
Finally, inspect your work in daylight and after dark. The display should create clean lines that enhance your window’s architecture rather than looking haphazard or overwhelming.
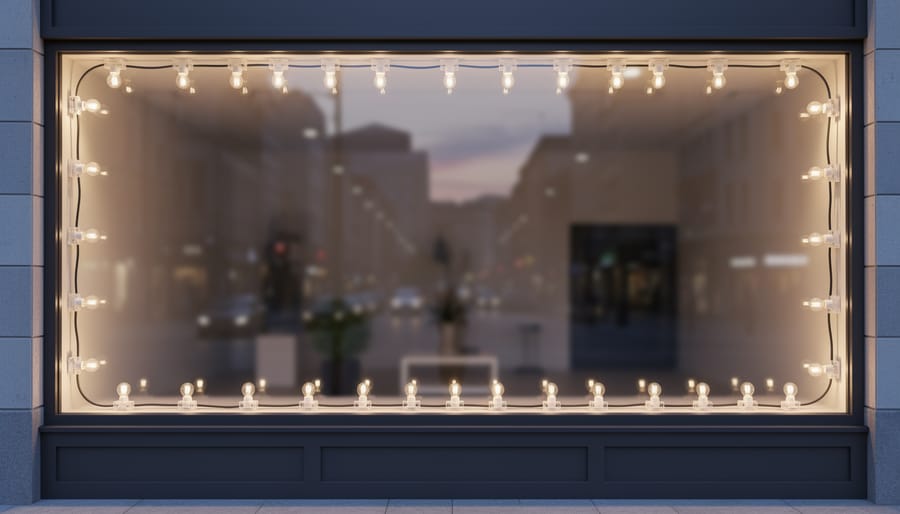
Efficient Clip Selection for Different Window Types
Matching your clip style to your specific window material prevents damage and ensures your lights stay securely in place throughout the season. Vinyl windows require clips that grip the frame without applying excessive pressure, since vinyl can warp or crack under stress. Adhesive-backed clips designed specifically for vinyl provide excellent hold without causing surface damage, and they remove cleanly when the season ends.
Wood-framed windows offer more flexibility in clip selection. Small nail-in clips work well if you’re comfortable with tiny holes that you can fill later, while clips that hook over the window frame edge provide a no-damage alternative. Just ensure the clip design matches your frame’s depth and profile to maintain a secure grip.
Aluminum-framed windows benefit from magnetic clips if the frame contains steel components, or specialized adhesive clips rated for metal surfaces. Test adhesion in an inconspicuous spot first, since some adhesives don’t bond well to powder-coated aluminum in cold temperatures.
For brick surrounds, masonry clips that wedge into mortar lines offer the most secure hold without drilling. These clips distribute pressure across the mortar joint rather than concentrating it on a single point, protecting both your brick and your investment in quality materials. Choosing the right clip the first time saves you from mid-season failures, reduces the risk of window damage, and makes future installations faster since you’ll know exactly what works for your home.
Common Questions About Window Light Clips
Window light clips raise practical concerns that differ from other outdoor installations, and understanding their performance helps you maintain both your holiday display and your home’s condition.
Can I reuse window light clips year after year?
Quality clips designed for windows typically last three to five seasons with proper storage. Adhesive-backed clips may lose their stickiness after one season, while pressure-fit clips retain their grip longer when stored in a dry location away from extreme temperatures.
Will clips damage my window frames or paint?
Clips designed specifically for windows apply minimal pressure and rarely cause damage when installed correctly on clean, dry surfaces. Adhesive clips pose the greatest risk to painted surfaces if left in place too long or removed improperly, so follow manufacturer guidelines for removal timing.
Do window clips hold up in rain and snow?
Most window clips are rated for outdoor use and resist typical winter weather conditions. However, ice buildup and heavy, wet snow can add weight that causes sagging or clip failure, so check displays after major weather events and brush off excess accumulation.
When should I remove clips after the holidays?
Remove clips within a week or two after you take down lights to prevent adhesive residue buildup and UV degradation. Leaving clips installed year-round accelerates wear and makes removal more difficult, especially with adhesive-backed options.
Window installations face unique moisture exposure compared to roofline clips, particularly on frames that collect condensation or experience direct rainfall. This makes clip material selection important, plastic clips resist corrosion better than metal alternatives in damp conditions. If clips begin to discolor or feel brittle during removal, replace them before the next season rather than risk mid-display failure. Store removed clips in labeled containers with any spare parts, keeping different clip types separate so you know exactly what worked for each window location when December arrives again.
Installing Christmas light clips on windows transforms your home into a glowing celebration of the season, but success comes down to three essentials: preparation, the right materials, and careful execution. Clean frames, properly matched clips, and methodical placement create displays that shine beautifully while protecting your windows from damage. Taking the extra time to measure, test, and secure each clip pays off in a professional-looking result that lasts the entire holiday season.
If the process feels overwhelming or you’re working with multiple stories, intricate window designs, or tight timeframes, professional installation services bring both technical expertise and artistic vision to your holiday lighting. We handle the planning, safety considerations, and precise execution that turn your home into a festive masterpiece you’ll enjoy all season long.