

Winding down a commercial holiday lighting installation is a six-week process that protects your investment, strengthens client relationships, and sets the foundation for the next season. The work begins in early January with client communication and extends through careful removal, inventory, maintenance, and strategic storage, ensuring that every strand, connector, and custom piece returns in peak condition. When you hire a professional for your seasonal displays, this comprehensive wind-down process is what separates exceptional service from a rushed takedown.
The season’s end is where many commercial lighting businesses either build lasting client loyalty or lose it entirely. A thoughtful removal timeline honors your clients’ schedules while allowing your team adequate time to work safely in winter conditions. The physical work requires attention to detail: inspecting each element as it comes down, cleaning away weather residue, testing components before storage, and documenting any repairs needed before the following season arrives.
Beyond the logistics, your storage decisions directly impact next year’s profitability. Properly maintained displays reinstall faster, require fewer emergency replacements, and present the polished appearance that commands premium pricing. The difference between storing components in climate-controlled conditions versus damp garages or unprotected sheds can mean thousands in replacement costs.
This systematic approach also creates opportunities. End-of-season walkthroughs with property managers and business owners, whether they operate retail spaces or facilities similar to those served by Property Saviour allow you to discuss what worked beautifully and what might evolve next year. These conversations, held while the magic of the season still resonates, often secure early commitments and expanded scopes for future installations.
The Right Time to Begin Your Seasonal Wind-Down
Timing your removal requires balancing multiple factors that affect both the quality of your service and the condition of your equipment. The traditional approach of taking down displays immediately after New Year’s Day works for many clients, but treating this as a fixed rule ignores important considerations that can make the difference between smooth operations and costly problems.
Start by reviewing your contracts and client preferences. Some commercial properties prefer displays to remain through mid-January for post-holiday shopping periods, while others want removal completed within days of New Year’s. Religious institutions may request longer installations if Epiphany celebrations factor into their traditions. Understanding these expectations from the installation phase prevents awkward conversations when you show up to remove displays the client expected to remain longer.
Community standards significantly influence appropriate timing. In neighborhoods where most properties remove decorations by specific dates, a lingering commercial display can look neglected rather than festive. Conversely, being the first to strip away holiday elements might position your client’s property as rushed or lacking holiday spirit. Survey the area during installation season to understand local removal patterns.
Weather creates the most immediate constraints on your removal schedule. Ice, heavy snow, and extreme cold threaten both your crew’s safety and the integrity of delicate displays.
Conversely, waiting too long into mild late-winter weather means scheduling conflicts as spring projects compete for crew time.
The sweet spot typically falls in the first two weeks of January when holiday sentiment has waned but before weather becomes unpredictable. However, monitor forecasts closely and communicate proactively with clients about optimal windows. A professional approach means sometimes suggesting schedule adjustments when conditions threaten either safety or quality. Clients who understand you’re protecting their property and your investment in reusable displays will appreciate the guidance rather than viewing it as inconvenience.
Pre-Removal Assessment and Documentation
Before a single bulb comes down, taking the time to thoroughly document your commercial installation pays dividends that extend well beyond the current season. This assessment phase creates a roadmap for efficient removal while capturing valuable information that shapes future installations and client relationships.
Start by photographing the entire display from multiple angles while everything is still in place. Capture wide shots that show the overall design, then move in for detailed images of connection points, mounting methods, and any custom elements. These photos serve several purposes: they provide visual evidence of the completed work for your portfolio, they document exactly how complex installations were assembled, and they create a reference for reinstallation next year. When you return to a property twelve months later, these images eliminate guesswork about placement and design choices.
Walk the property systematically, noting any issues that arose during the season. Did certain strands fail? Are clips broken or missing? Has weather caused any damage to mounting points or architectural features? Document everything in writing, noting specific locations and the nature of each issue. This information becomes essential for ordering replacement parts and planning repairs during the off-season.
Pay special attention to elements that performed differently than expected. Perhaps a particular display drew more positive client feedback, or maybe certain lights proved less reliable than others. These observations inform your equipment choices and design decisions for future projects.
Create a detailed removal plan that mirrors your installation approach. Identify which elements must come down first, where you’ll need specialized equipment, and which areas require extra care. For multi-story installations or complex architectural features, sketch out the sequence to ensure your crew works safely and efficiently. Note any property-specific considerations, like gate codes, access restrictions, or landscaping that needs protection during removal.
This documentation transforms seasonal wind-down from routine takedown into professional service. You’re not just removing lights; you’re gathering intelligence that makes your business more efficient, more reliable, and more valuable to clients who appreciate the depth of care behind every phase of your work.
Safe and Systematic Removal Procedures
Protecting Architectural Features During Removal
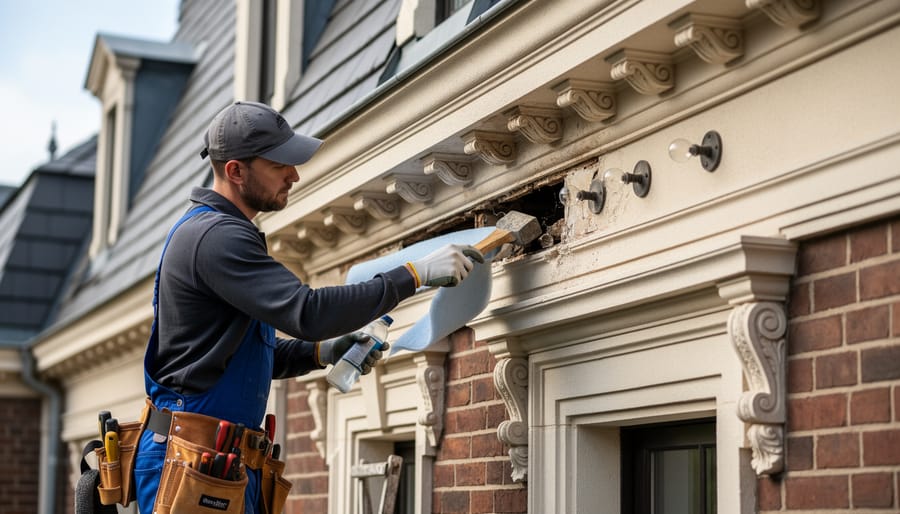
Architectural surfaces that looked perfect in autumn deserve the same protection during removal as they received during installation. Start with roof lines where clips and fasteners have been holding displays through weeks of weather. Work from stable ladder positions, never pulling or yanking strands. Remove each clip individually, checking that gutter guards remain secure and shingles lie flat. The same careful approach you took to use light clips during installation applies now, just in reverse.
Window frames and glass surfaces require particular attention. Adhesive clips may have bonded more firmly over time, so gently work them loose rather than forcing removal. The techniques that help avoid window damage during installation matter even more now, when rushing could crack glass or strip paint from frames. Warm any stubborn adhesive with your hands before attempting removal.
Landscaping elements present different challenges. Stakes and ground supports may have settled deeper into soil or frozen in place. Don’t twist or force them out. Work around shrubs carefully, watching for new spring growth that wasn’t there during installation. Check brick and stone facades for any mortar displacement where anchors were installed, noting repairs needed before next season.
Handling Specialized Display Elements
Custom installations and animated displays represent significant investments that demand careful handling during removal. These signature pieces, whether wireframe sculptures, projection mapping systems, or synchronized light shows, often define a property’s holiday identity and require specialized disassembly procedures.
Start with animated displays by photographing all control box connections and wiring configurations before disconnecting anything. Label each connection point with waterproof tags that correspond to your installation diagrams. Controllers and specialty equipment should be powered down completely and allowed to rest for several minutes before unplugging to prevent electrical surges that can damage sensitive components.
Wireframe and three-dimensional displays need systematic disassembly in the exact reverse order of installation. Remove lights from frames before attempting to separate structural elements. These pieces often interlock or stack in specific ways, taking video during disassembly creates reference material that proves invaluable next season. Wrap each structural component individually in protective material, noting which pieces connect together.
Projection equipment requires the most delicate handling. Clean lenses with appropriate materials only, never with standard glass cleaners. Store projectors in their original cases with desiccant packets to control moisture. Document mounting positions and angles with measurements and photos, precise positioning is critical for projection alignment and cannot be reliably recreated from memory alone.
Custom elements with intricate wiring, such as star bursts or cascading designs, benefit from gentle bundling that maintains their shape during storage rather than complete disassembly.
Inspection, Testing, and Maintenance After Removal
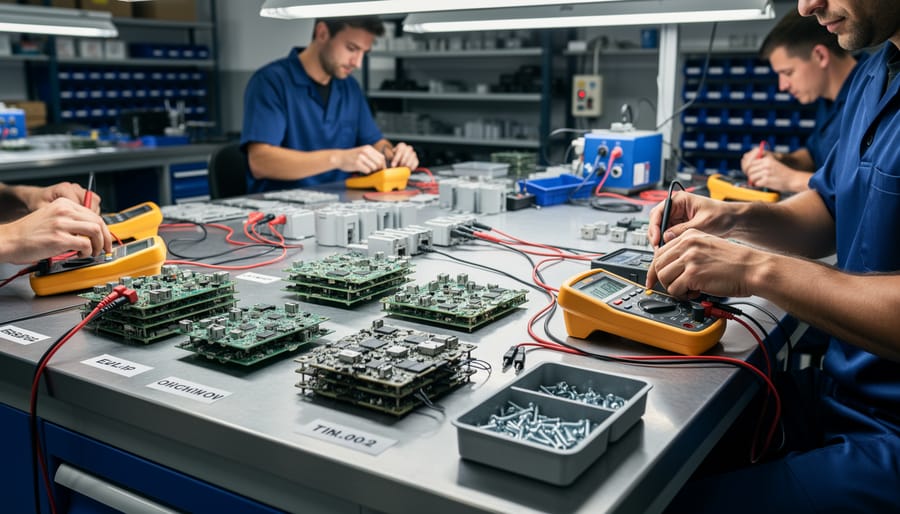
Once your displays are safely down, the real work of protecting your investment begins. Inspection immediately after removal catches problems while they’re fresh in your mind and the season’s conditions are still visible on the equipment. This systematic review determines what returns to service next year and what needs attention now.
Start with a methodical examination of every strand, connector, and component. Hold each light string up to natural light and look for cracked bulbs, frayed wiring, corroded sockets, or melted insulation. These issues often develop gradually during the season but become obvious during close inspection. Test every strand with a voltage meter before storage, a working light today might have a failing connection that will cause frustration next November.
Pay special attention to connections and end caps, where moisture intrusion typically starts. Green corrosion on copper wiring, white residue on plastic components, or stiffness in previously flexible cords all signal deterioration that will only worsen in storage. For installations using smart lighting controls verify that timers, controllers, and wireless modules function properly and update any firmware before putting equipment away.
| Component | What to Check | Action Items |
|---|---|---|
| Light Strands | Cracked bulbs, frayed wires, socket corrosion | Replace damaged sections, test all strands |
| Extension Cords | Cuts, compression damage, connector integrity | Discard compromised cords, note replacements needed |
| Clips & Mounting | Cracks, broken tabs, missing pieces | Count inventory, order replacements |
| Custom Elements | Structural integrity, animation mechanisms | Schedule repairs, document modifications needed |
Create three sorting categories: ready for immediate storage, needs minor repair, and requires replacement. Minor issues like loose bulbs or dirty lenses get fixed now while you have everything laid out. Major problems go on your replacement list with specific notes about quantity, type, and supplier. This triage approach prevents the panic of discovering dead strands during next year’s installation rush.
Document everything. Photograph damaged items before discarding them, noting what failed and why. These records inform better purchasing decisions and help you identify patterns, if certain strands consistently fail at the same connection point, that manufacturer might not meet commercial durability standards. Your inspection notes become invaluable data that improves quality and reduces costs season after season.
Proper Cleaning and Preparation for Storage
Cleaning your lighting displays isn’t just about appearances, it’s about preservation. Dirt, moisture, and environmental residue left on components during storage can lead to corrosion, mold growth, and premature failure. Taking time to properly clean and prep each element now saves you from discovering unusable equipment when next season arrives.
Start with a gentle but thorough cleaning of each light strand. Use a soft, dry cloth to remove dust, pollen, and debris from bulbs and sockets. For stubborn grime, lightly dampen the cloth with water, never spray water directly onto electrical components. Pay special attention to socket connections where moisture tends to accumulate. If you encountered rain or snow during the season, allow strands to dry completely in a well-ventilated space before packing them away.
Cords and extension cables need equal attention. Wipe down their entire length to remove dirt and salt residue that can degrade protective coatings over time. Check for any signs of moisture intrusion at connection points, and ensure plugs are completely dry. For cords that spent months exposed to the elements, consider a light application of dielectric grease on plug prongs and socket connections to protect against corrosion during storage.
Display frames, clips, and mounting hardware deserve their own cleaning process. Remove any plant material, insect debris, or weather-related buildup. Metal components benefit from a quick inspection for rust, with light sanding and protective spray for affected areas. Plastic clips and stakes should be rinsed and dried to prevent brittleness from accumulated grime.
Consider treating your entire inventory with a light anti-static treatment before storage. This simple step reduces dust accumulation and makes next season’s setup cleaner from the start.
Storage Solutions That Preserve Your Investment
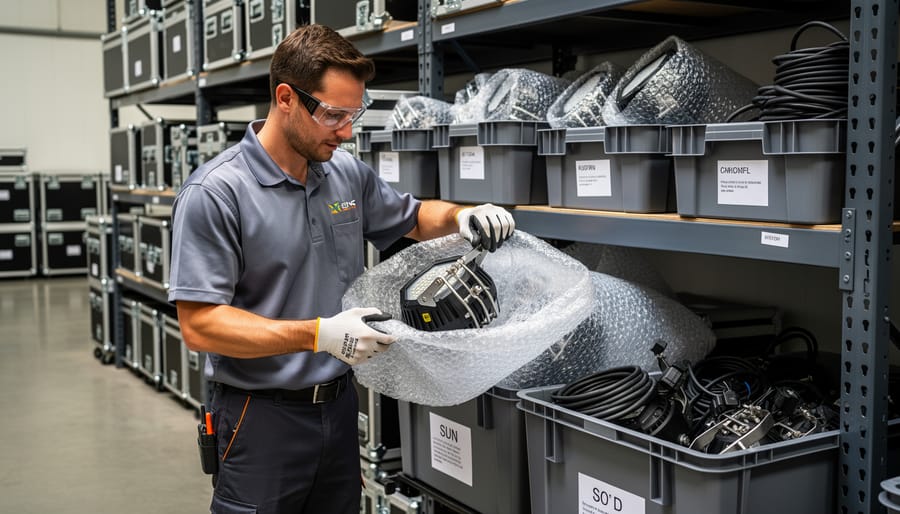
Professional storage transforms loose equipment into a well-organized system that protects your investment and streamlines future installations. The difference between haphazard storage and a thoughtful approach shows up immediately when next season begins: clean, functional lights versus tangled messes requiring hours of untangling and testing.
Climate control matters more than many professionals realize. A temperature-stable, dry storage environment prevents moisture damage, oxidation, and degradation of electrical components. Store equipment in a space that stays between 40 and 80 degrees Fahrenheit year-round, avoiding extreme temperature swings that cause condensation. Basements work well if they’re truly dry, while outdoor sheds and uninsulated garages create conditions where wires corrode and LED bulbs fail prematurely. For larger commercial operations, renting climate-controlled storage space pays for itself through reduced replacement costs.
Organization begins with proper coiling technique. Wind each strand into uniform loops roughly 18 inches in diameter, securing them with reusable cable ties or velcro straps rather than tape that leaves residue. Never coil lights too tightly around your arm or hand, as this creates sharp bends that stress wires at connection points. Keep extension cords separate from light strings to prevent confusion and tangling.
A systematic labeling approach saves considerable time during installation:
- Label each container with the client name or property location where those specific lights were installed
- Include the section or zone of the display (roofline, entryway, perimeter trees) on labels
- Mark specialized items like timers, controllers, and replacement bulbs with prominent identification
- Note the color, length, and any unique characteristics of each strand bundle
- Attach photos of completed installations to storage containers for quick visual reference
Invest in sturdy plastic bins with secure lids rather than cardboard boxes that collapse, absorb moisture, and attract pests. Clear containers let you see contents at a glance, while opaque bins protect light-sensitive components. Stack bins strategically with frequently-needed items accessible and delicate displays protected at lower levels.
Create zones within your storage area: one for standard light strings organized by color and length, another for extension cords and power equipment, and a third for specialized displays and custom elements. This organizational structure mirrors how you’ll pull equipment for jobs, reducing search time and preventing damage from rummaging through mixed inventory.
Client Communication and Season-End Service

The difference between a service provider and a trusted partner often comes down to what happens after the display comes down. Your clients invested in creating something special for their customers and community, and how you conclude that relationship speaks volumes about your professionalism.
Start your wind-down communication before removal day arrives. A brief email or call two weeks ahead lets clients know your schedule and gives them a chance to share any concerns or request adjustments to timing. This simple courtesy prevents surprises and shows respect for their operations. Some businesses prefer removal during specific hours to minimize disruption, while others want to coordinate with their own post-holiday transitions.
Schedule a brief walkthrough after removal, either in person or virtually. Walk the property together, pointing out that all mounting hardware has been removed, surfaces are clean, and landscaping remains undisturbed. This demonstrates thoroughness and gives clients peace of mind that their property received the same care you promised at installation. It’s also your opportunity to note any seasonal wear on architectural features that might need attention before next year.
Gather feedback while the season remains fresh in their minds. Ask specific questions: Did customers comment on the display? Were there any elements they’d like to change or expand next year? What worked particularly well? This information guides your planning and shows clients you’re invested in continually improving their experience.
Document any damage to lights or components that occurred during the season, sharing this information transparently. If weather caused unexpected issues or if certain elements performed exceptionally well, let them know. This honesty builds trust and helps frame conversations about next season’s plans.
Close with gratitude and a look ahead. Thank them for trusting you with their holiday vision, and plant seeds for future planning. Many commercial installations benefit from early booking, and mentioning this naturally keeps your services top of mind without feeling pushy.
The way you conclude your season says as much about your professionalism as the stunning displays you create. Every hour invested in careful removal, thorough inspection, and proper storage pays dividends when next season arrives. Your lights emerge ready to shine without extensive repairs, your installation process flows smoothly with well-organized equipment, and your reputation grows stronger with clients who recognize the dedication you bring to every phase of service.
This systematic approach to winding down transforms what could be viewed as tedious cleanup into a strategic advantage. While others scramble with tangled strands and damaged components come November, you’ll begin the new season with confidence, knowing each piece has been maintained to professional standards. Your clients notice this difference. They see the care you take with their property during removal, they appreciate the thoughtful communication throughout the process, and they trust that the same attention to detail will return when the holidays approach again.
The artistry that makes your installations magical extends beyond design and installation. It lives in how you protect your investment, maintain your equipment, and honor the trust your clients place in you. When you treat wind-down with the same commitment you bring to creating enchanting displays, you’re not just ending a season. You’re building a foundation for continued success, stronger client relationships, and the peace of mind that comes from knowing you’ve done exceptional work from start to finish.